Category Archives: Mixed Media

Live, Love, Laugh

Standard

Who doesn’t like a little graffiti every now and then?  To be honest, I hate it when property is defaced no matter how good the graffiti artist, unless permission was granted before they created their little piece of art.  What I do love about graffiti is the freedom and talent of these individuals!! Some of them are amazing at their craft and I’d love to see them create on a blank canvas instead of a building or some other form of real estate.  Now, I’m by no means a graffiti artist, however, I do love Limor Webber’s new set she created for Lindy’s Stamp Gang called Neon Graffiti.  The colors are down right amazing and as always, you can never go wrong with the Lindy’s Stamp Gang sprays.  This particular set is a Flat Fabio, so no shimmer at all.

It’s a pretty straight forward page and you’ll have to check out my YouTube video oh how I created it and the journey this page took.  I’m in love with yet another of Limor’s signature spray sets.

So, here is the page.  I don’t have any close up shots of this one, so you only get one photo of this page.

20151018_155135

Click here to watch the YouTube video on how I created this page.  There are a ‘few’ layers of spray on this one.

If you don’t already follow me, please click on the follow button or enter you email address in the spot on the right sidebar, then you’ll be notified by email whenever I do a new post.

Thank you so much for spending this time with me.  I look forward to our next visit.  As always, please feel free to leave a comment.  They always make my heart smile and I do my best to respond to each one.

Yvonne  :o)

“Storms make trees” Art Journal page

Standard
“Storms make trees” Art Journal page

Hello strangers.  I know I say this often….my poor neglected blog.  ;o)  I’ve been playing allot in my journal and have quite a few pages and canvas’s to catch up on.

This particular page started out with a bunch of very yummy texture.  I was at our cabin in the woods (I just love typing that…lol) and used my wall compound and a palette knife to apply the texture.

20151118_193631

I had an initial idea to not cover the entire page with paint….to leave some white space….to have some of the text of the Tim Holtz tissue paper I used show through on the finished page.  Ya, I actually think it’s impossible for me to leave white space….lol.  Check out some of the amazing texture I achieved on this piece!!!

IMG_4649IMG_4650IMG_4654

I truly love this page and hope you do as well!  Please check out this link to my YouTube to follow along on my process to create this page.  My Therapy Room.  Here’s the final result!

IMG_4652

Thank you for taking the time to join me.  As always, I appreciate your comments and do my best to reply to each one.  Mwahhh.

Yvonne

Memories…

Standard
Memories…

I had so much fun playing with the Vaseline technique Limor Webber taught us that I just had to try it one more time, but on a canvas this time. Here’s a link to her Ustream class where she taught us the technique if you’re interested.  Art Journaling With Limor Webber.  I wanted to do a quote type of canvas with this one and am a bit on the fence with it.  Not sure I should have put the faux screws on it….and if so, not sure I should have put paint on each one of them.  Oh well…..one more thing to tuck into the ‘things I’ve learned’ vault.  ;o)

I used my Liquitex Basics Acrylic paints for this and used the colors Burnt Umber, Bright Aqua Green, Unbleached Titanium and Titanium White.  I mixed a batch of the Titanium White with the Unbleached Titanium White to make a lighter shade for the last coat.  I hand-wrote out the quote using my Pilot PermaBall pen.  I attached some Prima Free Spirit Wood Embellishments and Prima Tiny Junkyard Findings screws.

Here are some close ups of the embellishments and the layers of paint:

IMG_3815 IMG_3816 IMG_3817 IMG_3819

And here’s the final canvas.

IMG_3814

There is a local new store in town that is specializing in antiques and vintage looking merchandise.  She’s asked me to bring her some canvas’s and she’ll sell them.  We’ll see how well the last two canvas’s I made sell…..lol.  It would be the first time I’d ever sold anything but a card.  Not going to hold my breath.  ;o)

Thanks for coming by again…..until next time.  Please feel free to leave me comments, as I do appreciate them.  ❤

Huggss,

Yvonne

Products used:

Liquitex Super Heavy Gesso

Liquitex Basics Acrylic paint

Faber Castell Design Memory Craft Gel Medium

Prima Free Spirit Wood Embellishments (from my stash)

Prima Tiny Junkyard Findings (from my stash)

Mail Art

Standard
Mail Art

I had some fun the last couple of evenings following along with Sandee and trying my hand at some mail art.  I’ve been wanting to give it a try for a while now and thought it was about time I did another one of Sandee’s tutorials before she unfriends me!!  Over on the Frosted Designs blog they have a weekly segment called Sunday’s with Sandee, and honestly, if you’ve never checked it out, you need to.  She does amazing work! I’ve been having some fun with layering paints and stamps and tissue paper, etc and thought I’d just keep with that theme for my mail art.  I used my Liquitex Basics acrylic paints, some stamps and my Stazon ink pad.  I also did my doodling with one of my new Pilot Perma Ball pens, which is an amazing and my trusty Unibal Signo white gel pen.  Of course…..how can you do a bunch of layering techniques and not grab the bubble wrap?  I made three envelopes using all the same colors, just different pieces of the Tim Holtz tissue wrap and on one of my envies I used a collage piece as well.

Here’s a peek at mail art #1 – Front

IMG_2989


Envelope #1 – Back

IMG_2992

For envelope #2 I had a scrap of the tissue wrap that had a big butterfly on it….I thought it would look great on the front of the envelope.

IMG_2993

The back of envelope #2

IMG_2995

For envelope #3, I had this collage girl I’ve had sitting on my desk for a while now and I’ve really wanted to use her on something….so this envelope is where she finally found a home.  I tried to mimic the swirls on her dress with the paint…

IMG_2996

And the back of this one…

IMG_2997

So, there you have it.  My little run at mail art…..I think I’m going to have a hard time leaving an envelope plain now!!!  They were a lot of fun!

Thanks for stopping by….till next time!  :o)

Huggss,

Yvonne

Cards, cards and more cards!!

Standard

Hey there my blogging family!  I was at our cabin for a few days last week and decided it was time to make some cards again…..I had a blast!!  One of these days I’ll figure out how to do the delayed blog post thingy so a new post comes up every day or so……but ya, that’s not going to happen today, so I’ll just put them all into one post…..lol.  The paper and most of the embellishments used on these cards were all purchased from Leanne’s store called Scrapn’ With Flair…..check it out….she has great prices!!

Have I mentioned how much I love my I Am Roses roses???  I really like how this card turned out and love the shabbiness of it (is that even a word??  lol).  I used papers from the BoBunny Country Garden line and the Weathered design.  I love this paper line and had such a hard time cutting into it!!!  It’s so crazy, but I feel like I have this hoarding vault full of all my favorite stuff and I never want to use it…..soooo silly!!.  I used a strip off both sides of the paper for this card and covered the seam with a piece of lace I found at our local Thrift Store…….I LOVE that store!!  I’ve got so much stuff from there for just a few dollars, it’s crazy!!.  I distressed the edges with my Tim Holtz distress tool and then inked the edges with my Tim Holtz Distress Ink in Weathered Wood…..one of my favorite inks.  I attached a butterfly from a package from Close To My Heart and then grabbed my Gesso and randomly applied some to give the card an old weathered look.  It doesn’t show in the picture, but I applied some of my Close To My Heart Liquid Glass to the two colored butterflies on the paper……I really love how that stuff just adds to the dimension on a card!

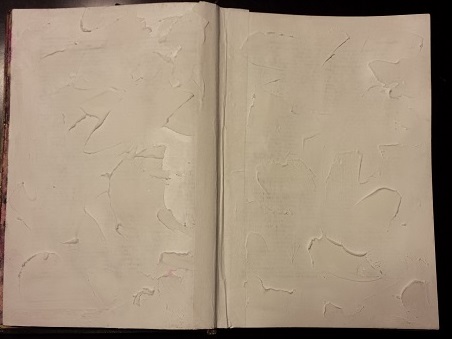
So…….how ’bout this one…..very mixed media…..I really like it.  It’s not for everyone, but  I’m really having fun with the whole mixed media world lately.  For this card I started with a Kraft cardstock base and then layered on paper from the BoBunny Timepiece line and the Country Garden line.  I tore the layers and then distressed the edges with my fingernail and inked them with my Tim Holtz Distress Ink in Vintage Photo…..another one of my go-to favorites!  I used my Stampin’ Up! Scallop Trim Border punch, some burlap pieces and some jute twine.  The butterfly is from the 12 x 12 Chipboard add-on to the BoBunny Country Garden line and it has a bunch of very cute elements to be used!  I took my texture paste and randomly smeared it over the card and burlap and then added a bit of white Gesso to the top of it to give it more of a white look.  Once I was all done with the card I grabbed my Tsukineko Goosebumps Clear Texture Spray and gave the whole front of the card a spritz with it……it leaves a very cool raised texture to the card front once dry.  Along the left side of the card there is also half a doily pasted on that’s been spritzed with some of my Lindy’s Stamp Gang Flat Fabios (sooooo love these spritz’s!!!) in Caribbean Blue, Luscious Lime and Mango Mania.

This is more of a traditional card I made for the Alphabet Challenge on SCS.  The letter for this week was C.  I used the BoBunny Timepiece paper and then took my stamps from a new set made by “darkroom door” called Tick Tock.  I stamped all three clocks onto cardstock using my Rich Cocoa Memento Ink, distressed the edges with my Tim Holtz distress tool and inking the edges with my Tim Holtz Distress Ink in Vintage Photo.  I also inked the entire edge of the card base with the Vintage Photo as well.  I added some of my Close To My Heart Liquid Glass to the edges of two of the clocks and to the swirls on the card front.  The sentiment is also from the same stamp set and the silver butterfly was from my stash as were the brown flat-back pearls. 


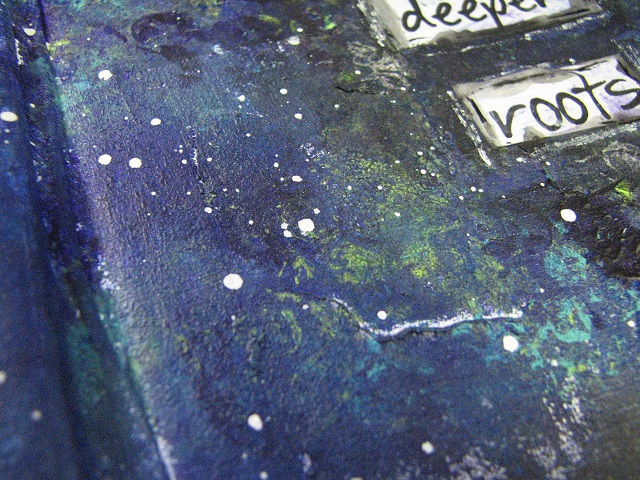
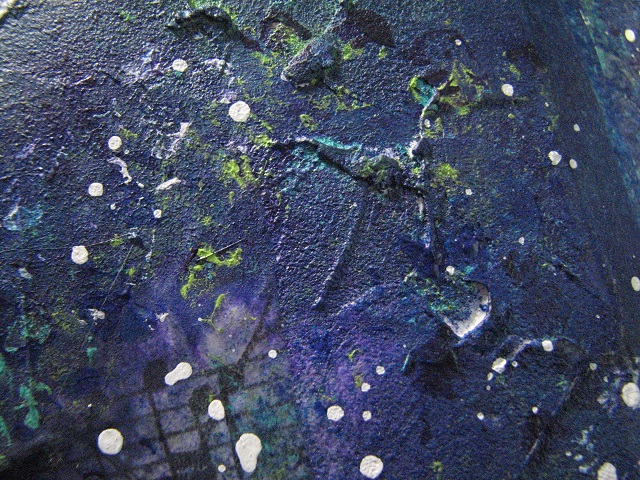
This is the last card I made….. 


The butterflies were stamped onto a piece of paper towel and then spritzed with my Lindy’s Stamp Gang Flat Fabios in Caribbean Blue, Luscious Lime and Mango Mania.  I also took the other half of the doily I’d already spritzed and used it on the side of this card.  I added some lace that I died using the spritz’s and a lace bow.  I took my texture past and smeared quite a bit of it on the front of the card and then spritzed it as well.  I added some stickles to the wings of the butterflies and then traced around them with my white pen to make them pop.  I distressed the edges of the card with my Distress Tool and then inked them with some Tim Holtz Distress Ink in Broken China.  I added three I Am Roses roses to the front.  These three roses were already inked with the black on the edges of the petals, so I took my spritz’s in the Caribbean Blue and the Mango Mania and gave them a couple of sprays to tie them into the card better.

That’s it for my very long post…….if you’ve stuck around this far, thank you!!!  As always I love to read your comments/feedback.  I’m off the see what else strikes my fancy……till next time!

Huggss,

Yvonne  😉

Monday Night LIVE with Tracy Weinzapfel creation!!

Standard

Hello my blogging family…..I’m back to the Mixed Media again!  I often spend my Monday evenings with the very talented Tracy Weinzapfel on her Ustream classes.  For the month of September she is taking us on a shared journey as we create and complete a wonderful canvas art journal that she sewed together for us.  This past Monday we worked on the front and back covers.  I don’t have my canvas journal yet so I played along on a piece of canvas I have.  If you’re looking for some Mixed Media inspiration, check out her channel here

As I started to work on this canvas I was actually glad I didn’t have my actual canvas journal yet!  Sometimes the creative process for me is a lesson in frustration and this was one of those times.  I don’t have a lot of stencils to choose from and the one I chose to use didn’t transfer well to  my canvas with the spray I chose to use.  So, out came the turquoise paint and a sponge instead.  Not bad, but still wasn’t happy with it……so out came the paint brush.  It didn’t cover the original sprayed transfer completely so I decided to use my white to outline the stencil pattern.  It was better…..sort of……lol.

This was my first choice for a flower.  It wasn’t quite working for me…..I don’t know if it was the blue color or what it was, but I just didn’t like it.  Back to my stash of silk flowers I went and came up with a much better choice I think!

So??…….what do you think?  I like the green flower better…..it’s bigger and I think just fits into the page better.  I’m still not happy with the background and wish it were more muted, but learning curve it was.  Now, hopefully I have all the kinks worked out by the time my canvas journal gets here and I do the real cover…..lol. 

I just love this flower.  I’ve had these beauties in my stash for a while now just waiting for the right project to put them on…..I think this fits the bill!!

Thanks once again for popping in……as always, let me know you stopped by.  I’m off to post a link to this on Tracy’s blog.

Till next time friends!!

Huggss…..

Yvonne  🙂